Appearance
Workspace Settings
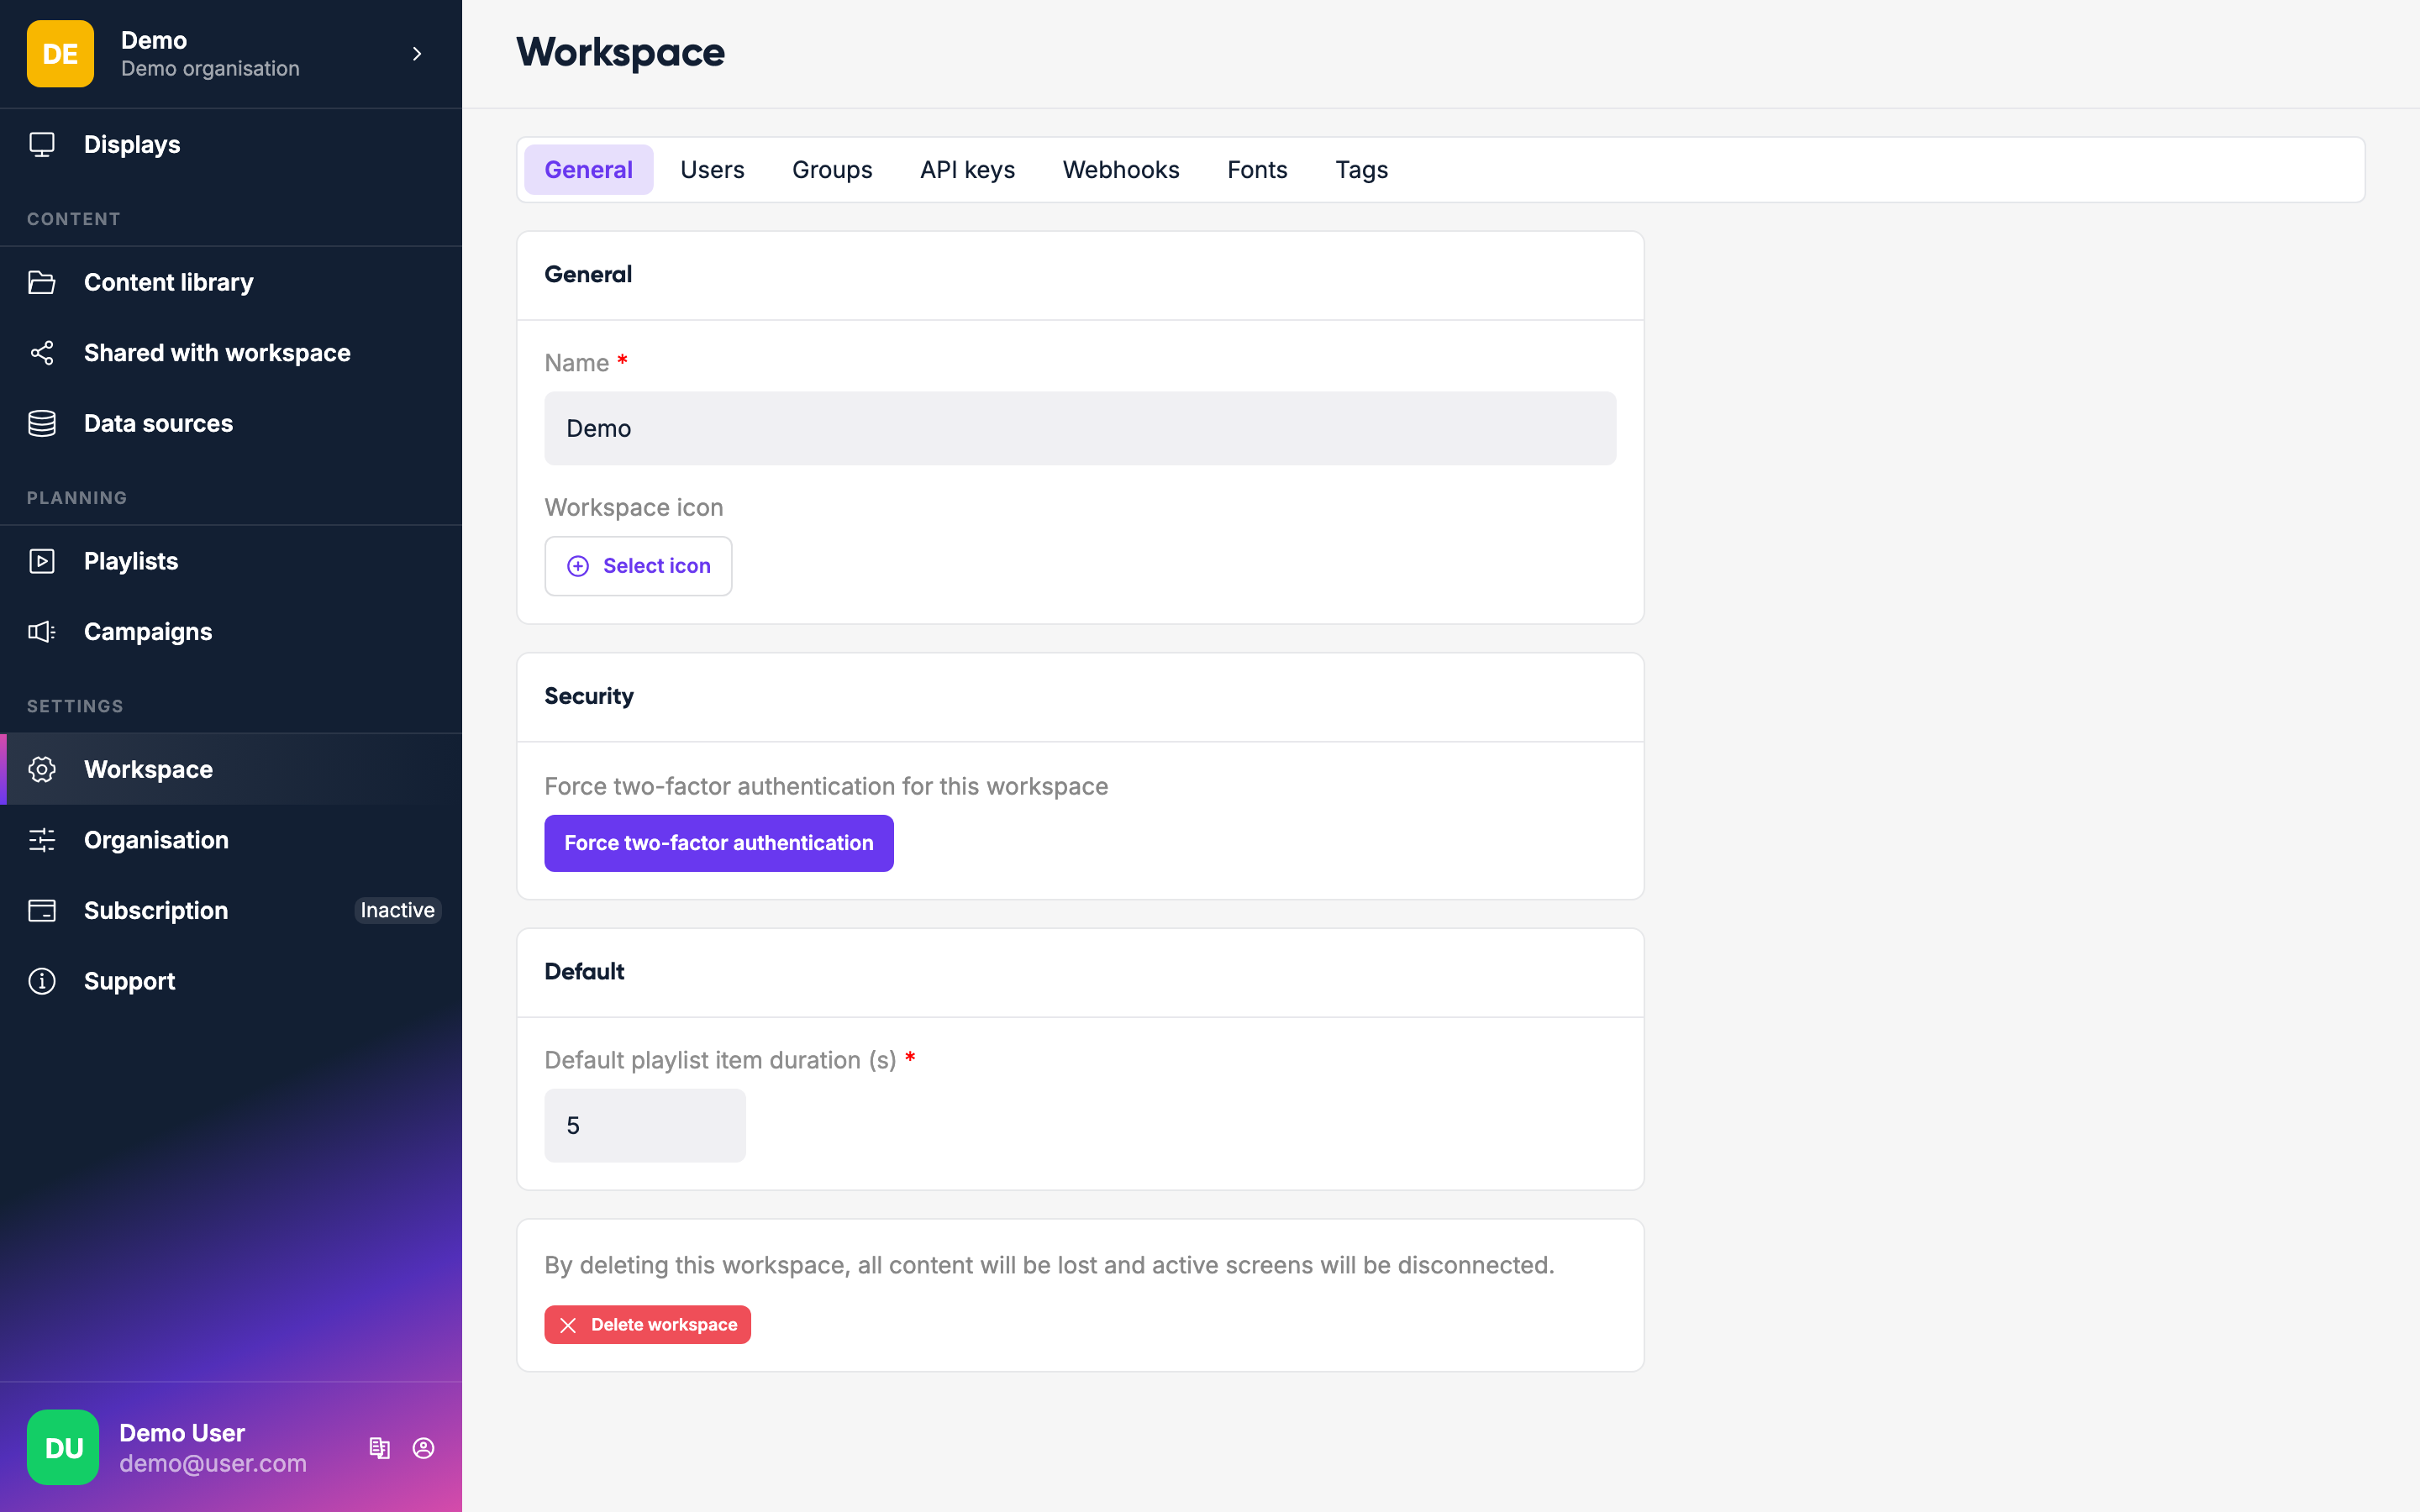
Workspace Settings (found under the cog icon or your workspace name in the nav) is where you manage your team, access, and workspace configuration.
Users
Invite colleagues to your workspace. Go to Workspace → Users and click Invite user. Enter their email address, then choose their access:
- Admin — toggle this on to give the user full access to everything in the workspace.
- Groups — assign the user to one or more groups that bundle permissions together.
- Permissions — pick individual permissions directly. Combined with any permissions inherited from assigned groups.
Admins bypass groups and permissions entirely. Non-admins get whatever their groups + direct permissions grant.
Invited users receive an email with a link to accept. Pending invites appear in the user list with an hourglass icon until accepted.
Organization roles
At the organization level (above workspaces), roles are different: Owner, Admin, and Billing. The Billing role can only manage the subscription. Organization roles are managed separately from workspace roles.
Groups
Groups let you bundle permissions together. Go to Workspace → Groups to create a group, add members, and assign permissions. Useful when you want to give a set of people access to specific content or displays without making them full admins.
API Keys
Generate API keys for programmatic access to Lumicast. Go to Workspace → API Keys and click New key. Give it a name and copy the key — it's only shown once.
API keys are useful for integrating Lumicast with other tools or automating content updates. See Manage API Keys for step-by-step instructions.
Webhooks
Set up webhooks to receive notifications when things happen in your workspace (e.g. when a display goes offline). Go to Workspace → Webhooks, add a URL, and choose the events you want to receive.
See Webhooks for payload formats, signing, retries, and the full event reference.
Fonts
Upload custom fonts to use in your pages. Go to Workspace → Fonts, add a font, and upload a file per weight + italic variation (TTF, OTF, WOFF, or WOFF2). The font then appears in the page editor's font selector.
Tags
Create display tags for organizing and targeting your screens. Go to Workspace → Tags and add tags. Apply them to displays in each display's Settings tab, then use them when targeting campaigns.
See Tags for how tags work with displays and campaigns.