Appearance
Displays
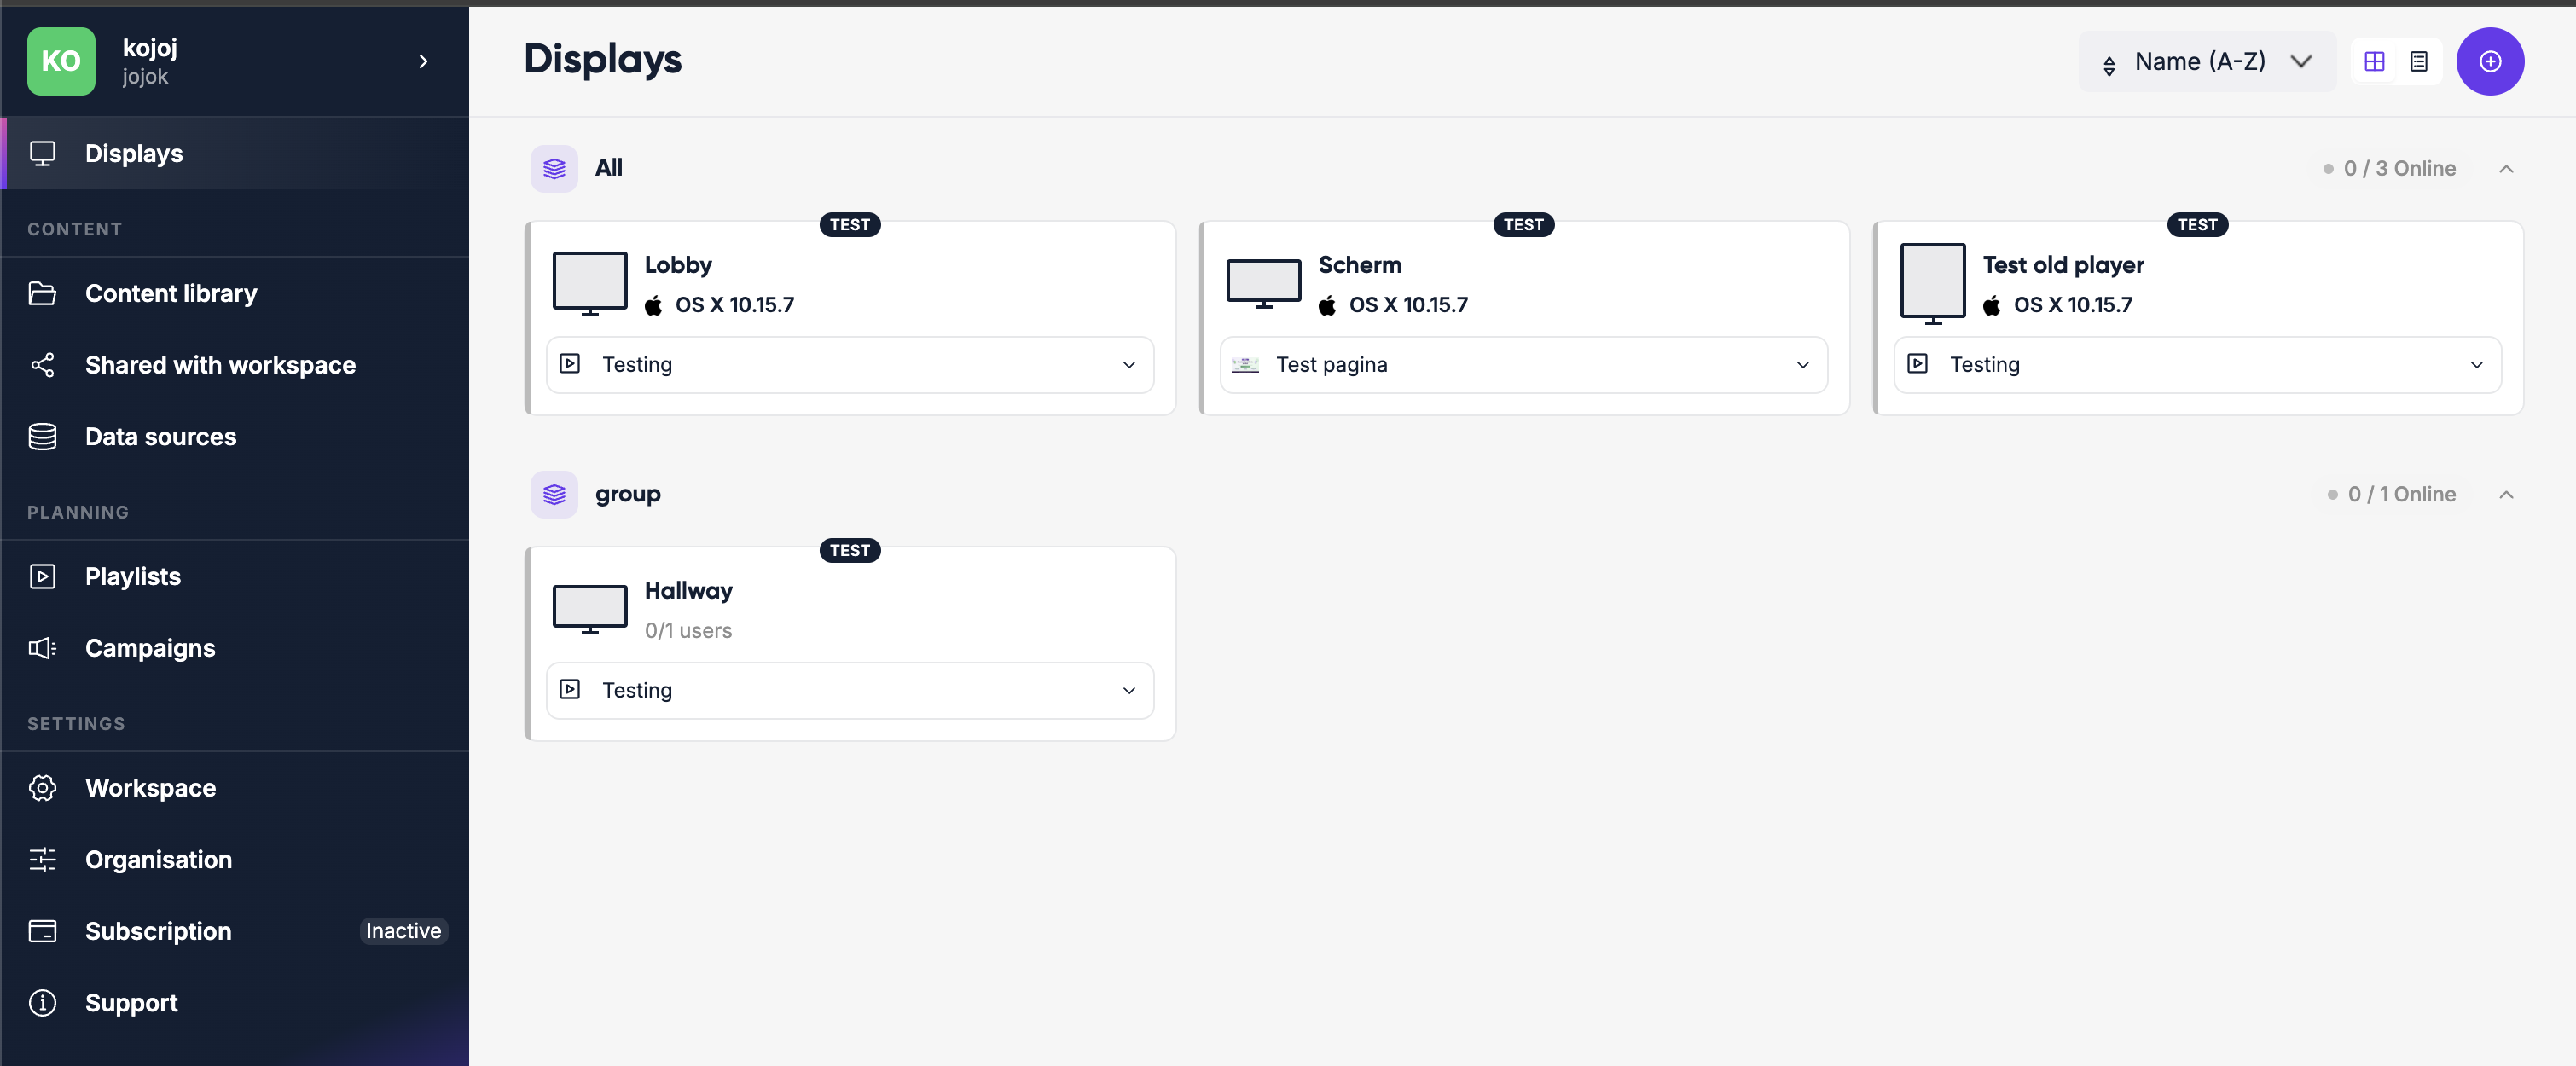
The Displays page shows all the screens in your workspace and their current status.
What is a display?
A display is the connection between Lumicast and your physical screen. Once paired, anything you change in Lumicast gets sent directly to the physical display — from anywhere, instantly.
Screen status
Each display shows whether it's currently online (green) or offline (grey). Status updates in real time — no page refresh needed.
You can switch between grid and table view, and use display groups to keep large fleets organized. Groups can be collapsed to clear space.
Live vs test mode
When creating a display you choose between live and test mode. Both work identically — the difference is cost and duration:
| Test | Live | |
|---|---|---|
| Cost | Free | Billed monthly |
| Duration | Active for 30 minutes, then stops | Runs 24/7 |
Use test mode when you're evaluating or developing. Switch to live when the display is in production.
Connecting a new display
Click the + button on the Displays page and choose Connect display.

Fill in:
- Name — anything you'll recognise it by later (e.g. "Coffee Corner" or "Lobby Left")
- Pairing code — the code shown on the physical screen after installing the player. Open player.lumicast.com on the device if you don't have a dedicated player installed yet.
- Type — test (30 min, free) or live (24/7, billed)
Click Connect. The display goes online immediately.
Assigning content
Once connected, click the content area on a display (or open its detail page) and click Set content. A content picker opens — browse or search your library, select what you want, then press Choose. The screen updates within seconds.
Display detail & settings
Click any display to open its detail page. Here you can see:
- Version of the Lumicast player running on the device
- RAM usage and CPU count
- All device information the player has reported
Settings tab
| Setting | What it does |
|---|---|
| Name | Shown in the display overview and in the service menu on screen |
| Tags | Assign tags for grouping — used when targeting campaigns |
| Mode | Switch between test and live |
| Rotation | Rotate the output by 0°, 90°, 180° or 270° |
| Location | Pin the display on a map (does not affect functionality, helps identify physical location) |
| Metadata | Key-value pairs used by certain apps to show different content per display |
| Video sync | When enabled, multiple displays in the same location try to keep videos in sync |
| Scheduled reboot | Define a nightly time window during which the player will restart (see below) |
Scheduled reboot
Enable Scheduled reboot in the Settings tab to have the player restart automatically each night within a time window you define. Set a From and To time — the player will reboot at some point between those two times.
The default window is 02:00–04:00. This is useful for keeping devices healthy on long-running installations without manual intervention.
Uptime tab
Shows uptime history across different time windows.
Logs tab
Click Enable logs to start collecting detailed player logs. Logs are active for 1 hour (or until you disable them). Use logs to diagnose connection or playback issues.
Bulk actions
Select multiple displays using the checkboxes in the display list, then choose an action to apply to all of them at once:
| Action | What it does |
|---|---|
| Set content | Set the same playlist or content item on all selected displays |
| Identify | Flash a visual indicator on screen to locate a specific display in a large space |
| Refresh | Force all selected players to reload their content |
| Reboot | Restart the player app on all selected devices |
| Clear cache | Wipe locally cached content and re-download from Lumicast |
| Delete | Remove all selected displays from the workspace |
Service menu
On the physical screen, press the M key (or OK on a remote control) to open the service menu. It shows the display name, connection status, and player version — useful for on-site troubleshooting.
Deleting a display
From the display overview, click the ⋯ menu and choose Delete. This immediately disconnects the device — there is no undo.