Appearance
Display Tags
Tags are labels you attach to displays for two purposes: keeping large fleets organized, and targeting campaigns at the right screens.
Creating tags
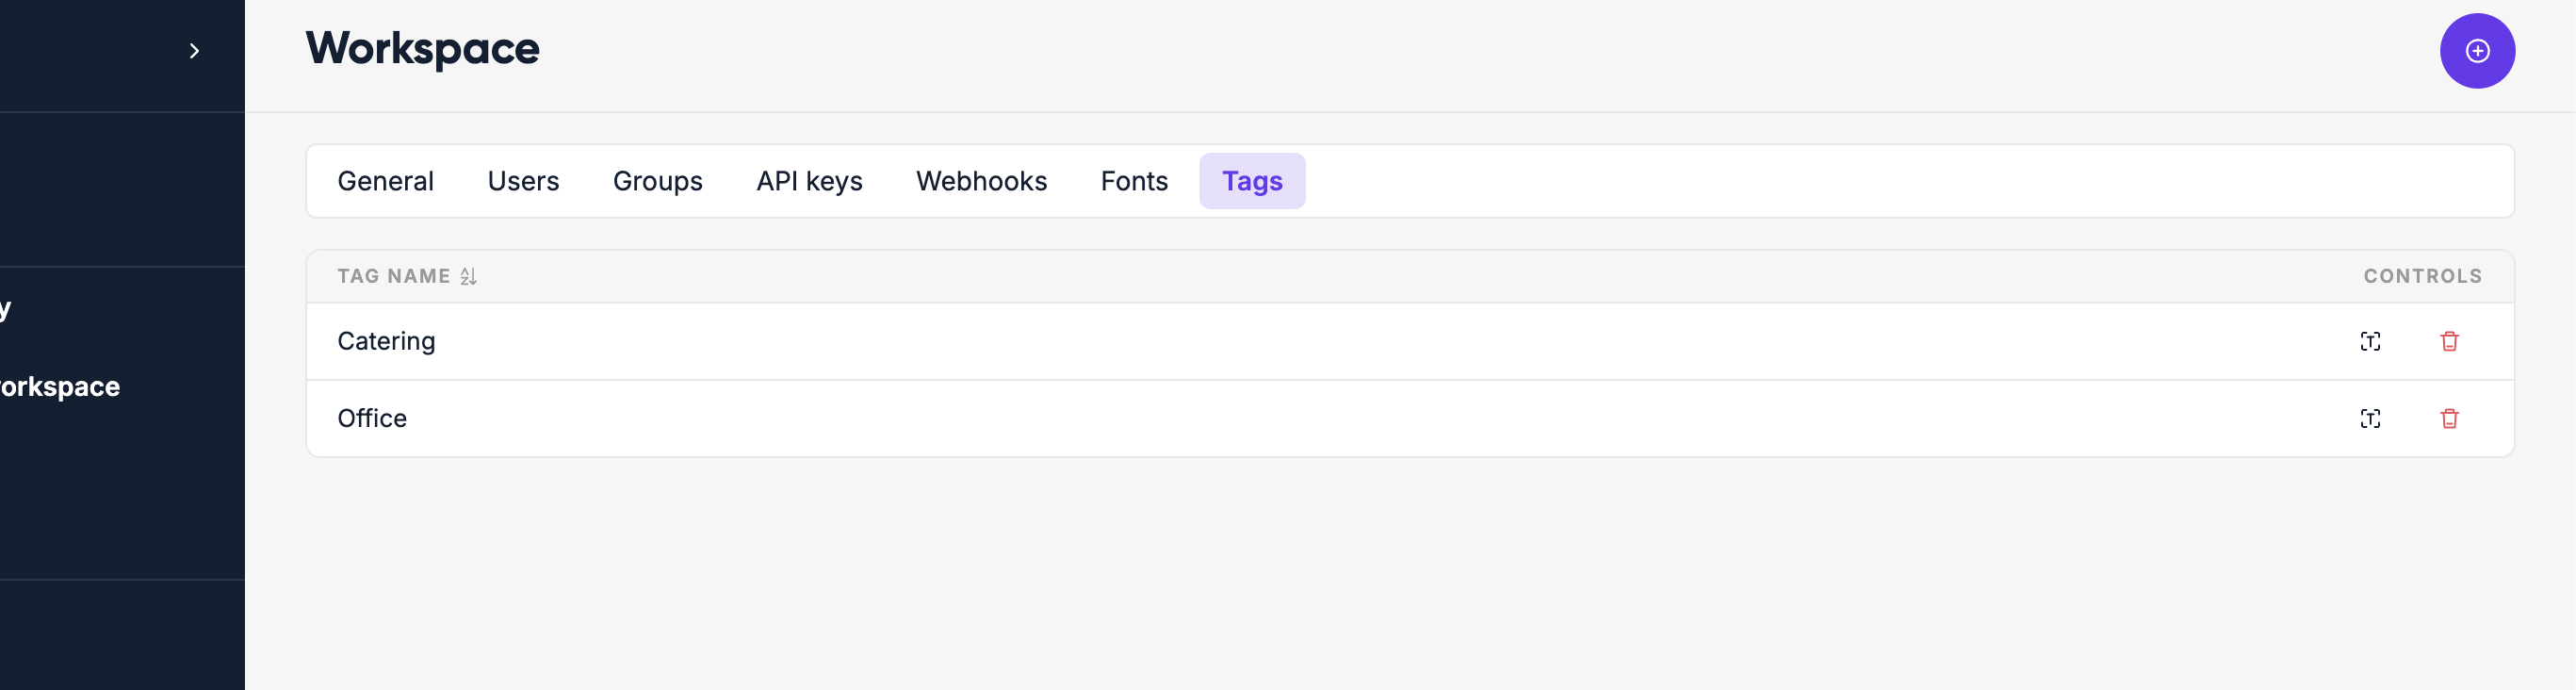
Go to Workspace → Display Tags and click Create tag. Give it a name (2–255 characters). Tags are workspace-scoped — they only exist within the workspace where you create them.
You can rename or delete tags at any time. Deleting a tag removes it from all displays that had it applied.
Applying tags to displays
Open any display's detail page and go to the Settings tab. Find the Tags field and select one or more tags. You can also type a new tag name directly in this field to create and apply it in one step.
A display can have any number of tags. Changes take effect immediately.
Using tags for campaign targeting
When creating a campaign, choose Schedule on display tags as the targeting method. Then select which tags to target. The campaign will be delivered to every display that has at least one of those tags applied.
This lets you target a campaign at a logical group of screens — for example, all displays tagged floor-1, or all screens in a given city — without having to pick each display individually.
Resolution-aware content
When targeting by tag, Lumicast looks at the dimensions of the matching displays and groups them by resolution (e.g. 1920×1080, 1080×1920). You can set different campaign content per resolution — so portrait and landscape screens each show an appropriately sized version.
Tips for organising with tags
- Use tags for physical location:
building-a,reception,floor-3 - Use tags for purpose:
break-room,lobby,warehouse - Use tags for region or ownership:
amsterdam,marketing-team - Combine tags — a display can have
floor-1andamsterdamandlobbyat the same time - Keep tag names consistent across your workspace so campaigns are predictable